Block walls are a popular and versatile choice for many construction projects, providing both strength and durability. If you’re looking to incorporate electrical installations into block walls, you need to understand the specifics to ensure safety and efficiency. Below are key points to address when working with block walls for electrical setups:
I’m Scott McLeod, owner of McLeod Landscaping. With over 30 years in landscaping and hardscaping, I’ve seen the importance of quality block wall installations for both aesthetic appeal and structural integrity. My team and I have helped countless clients successfully integrate electrical systems into block walls, ensuring both functionality and safety.

Essential block walls terms:
– concrete retaining wall blocks
– concrete retaining walls
When planning to integrate electrical installations into block walls, it’s crucial to understand the different types of block walls and their benefits. This knowledge helps ensure the right materials and methods are used for a safe and efficient setup.
Block walls come in various types, each with unique properties:
Block walls offer several advantages, especially when considering electrical installations:
The materials used in block walls play a significant role in their effectiveness and longevity:
By understanding these types and benefits, you can make informed decisions when planning your block wall projects, ensuring that your electrical installations are both safe and efficient.
When planning to integrate electrical systems into block walls, careful preparation is essential. This involves understanding local building codes and carefully planning the layout.
Before starting your project, it’s crucial to check local building codes. These regulations ensure that your installation is safe and up to standard.
Example: In some areas, a permit is required if your wall is over 3 or 4 feet tall. This is to ensure structural safety and proper installation.
Proper planning of the layout is crucial for a successful installation. Here’s how to get started:
Tip: Purchase 10% more materials than estimated to account for any breakage or future repairs.
By following these steps and adhering to local codes, you can plan an efficient and compliant electrical installation in your block walls. This preparation ensures that your project runs smoothly and safely, setting the foundation for a successful installation.
Next, we’ll dig into the process of installing electrical systems in block walls, including the materials you’ll need and a step-by-step guide.
When it comes to installing electrical systems in block walls, using the right materials and following a systematic process is key. This ensures safety, compliance with building codes, and a durable installation.
Selecting the appropriate materials is the first step in a successful installation. Here’s what you need:
Here’s a detailed guide to installing electrical systems in block walls:
By following these steps, you can achieve a safe and efficient electrical installation in your block walls. Proper materials and a meticulous approach are essential to ensure the longevity and functionality of your system.
Next, we’ll cover maintenance and safety tips for block walls with electrical installations, ensuring your setup remains in top condition over time.
Maintaining block walls with electrical installations requires regular inspections and upkeep to ensure safety and longevity. Here are some key tips to keep your setup in top condition.
Regular Check-ups
Schedule periodic inspections to catch and address issues early. Look for signs of wear and tear, such as cracks in the block walls or loose electrical boxes. Checking every six months is a good practice.
Cleaning
Keep your block walls clean. Dust and debris can accumulate around electrical installations, posing fire risks or obstructing ventilation. Use a soft brush or vacuum to clean around conduits and electrical boxes.
Immediate Repairs
Address any damage or malfunctions immediately. If you notice cracks, water stains, or loose fittings, repair them to prevent further deterioration. Quick action can save you from costly repairs later.
Electrical Safety
Always prioritize electrical safety. Ensure that all connections are secure and that there are no exposed wires. Use a voltage tester to check for live wires before performing any maintenance.
Structural Integrity
Maintain the structural integrity of your block walls. Over time, weather and other factors can cause blocks to shift or crack. Regularly inspect for any structural issues and reinforce or repair as needed.
Moisture Control
Moisture is a common issue with block walls. Ensure that all seals around conduits and electrical boxes are intact to prevent water ingress. Consider using waterproofing treatments on your block walls to add an extra layer of protection.

By following these maintenance and safety tips, you can ensure that your block walls with electrical installations remain safe, efficient, and durable over time. Regular inspections, prompt repairs, and proper safety measures are key to maintaining the integrity of your setup.
Next, we’ll address some frequently asked questions about block walls and electrical installations to help you troubleshoot common issues and make informed decisions.
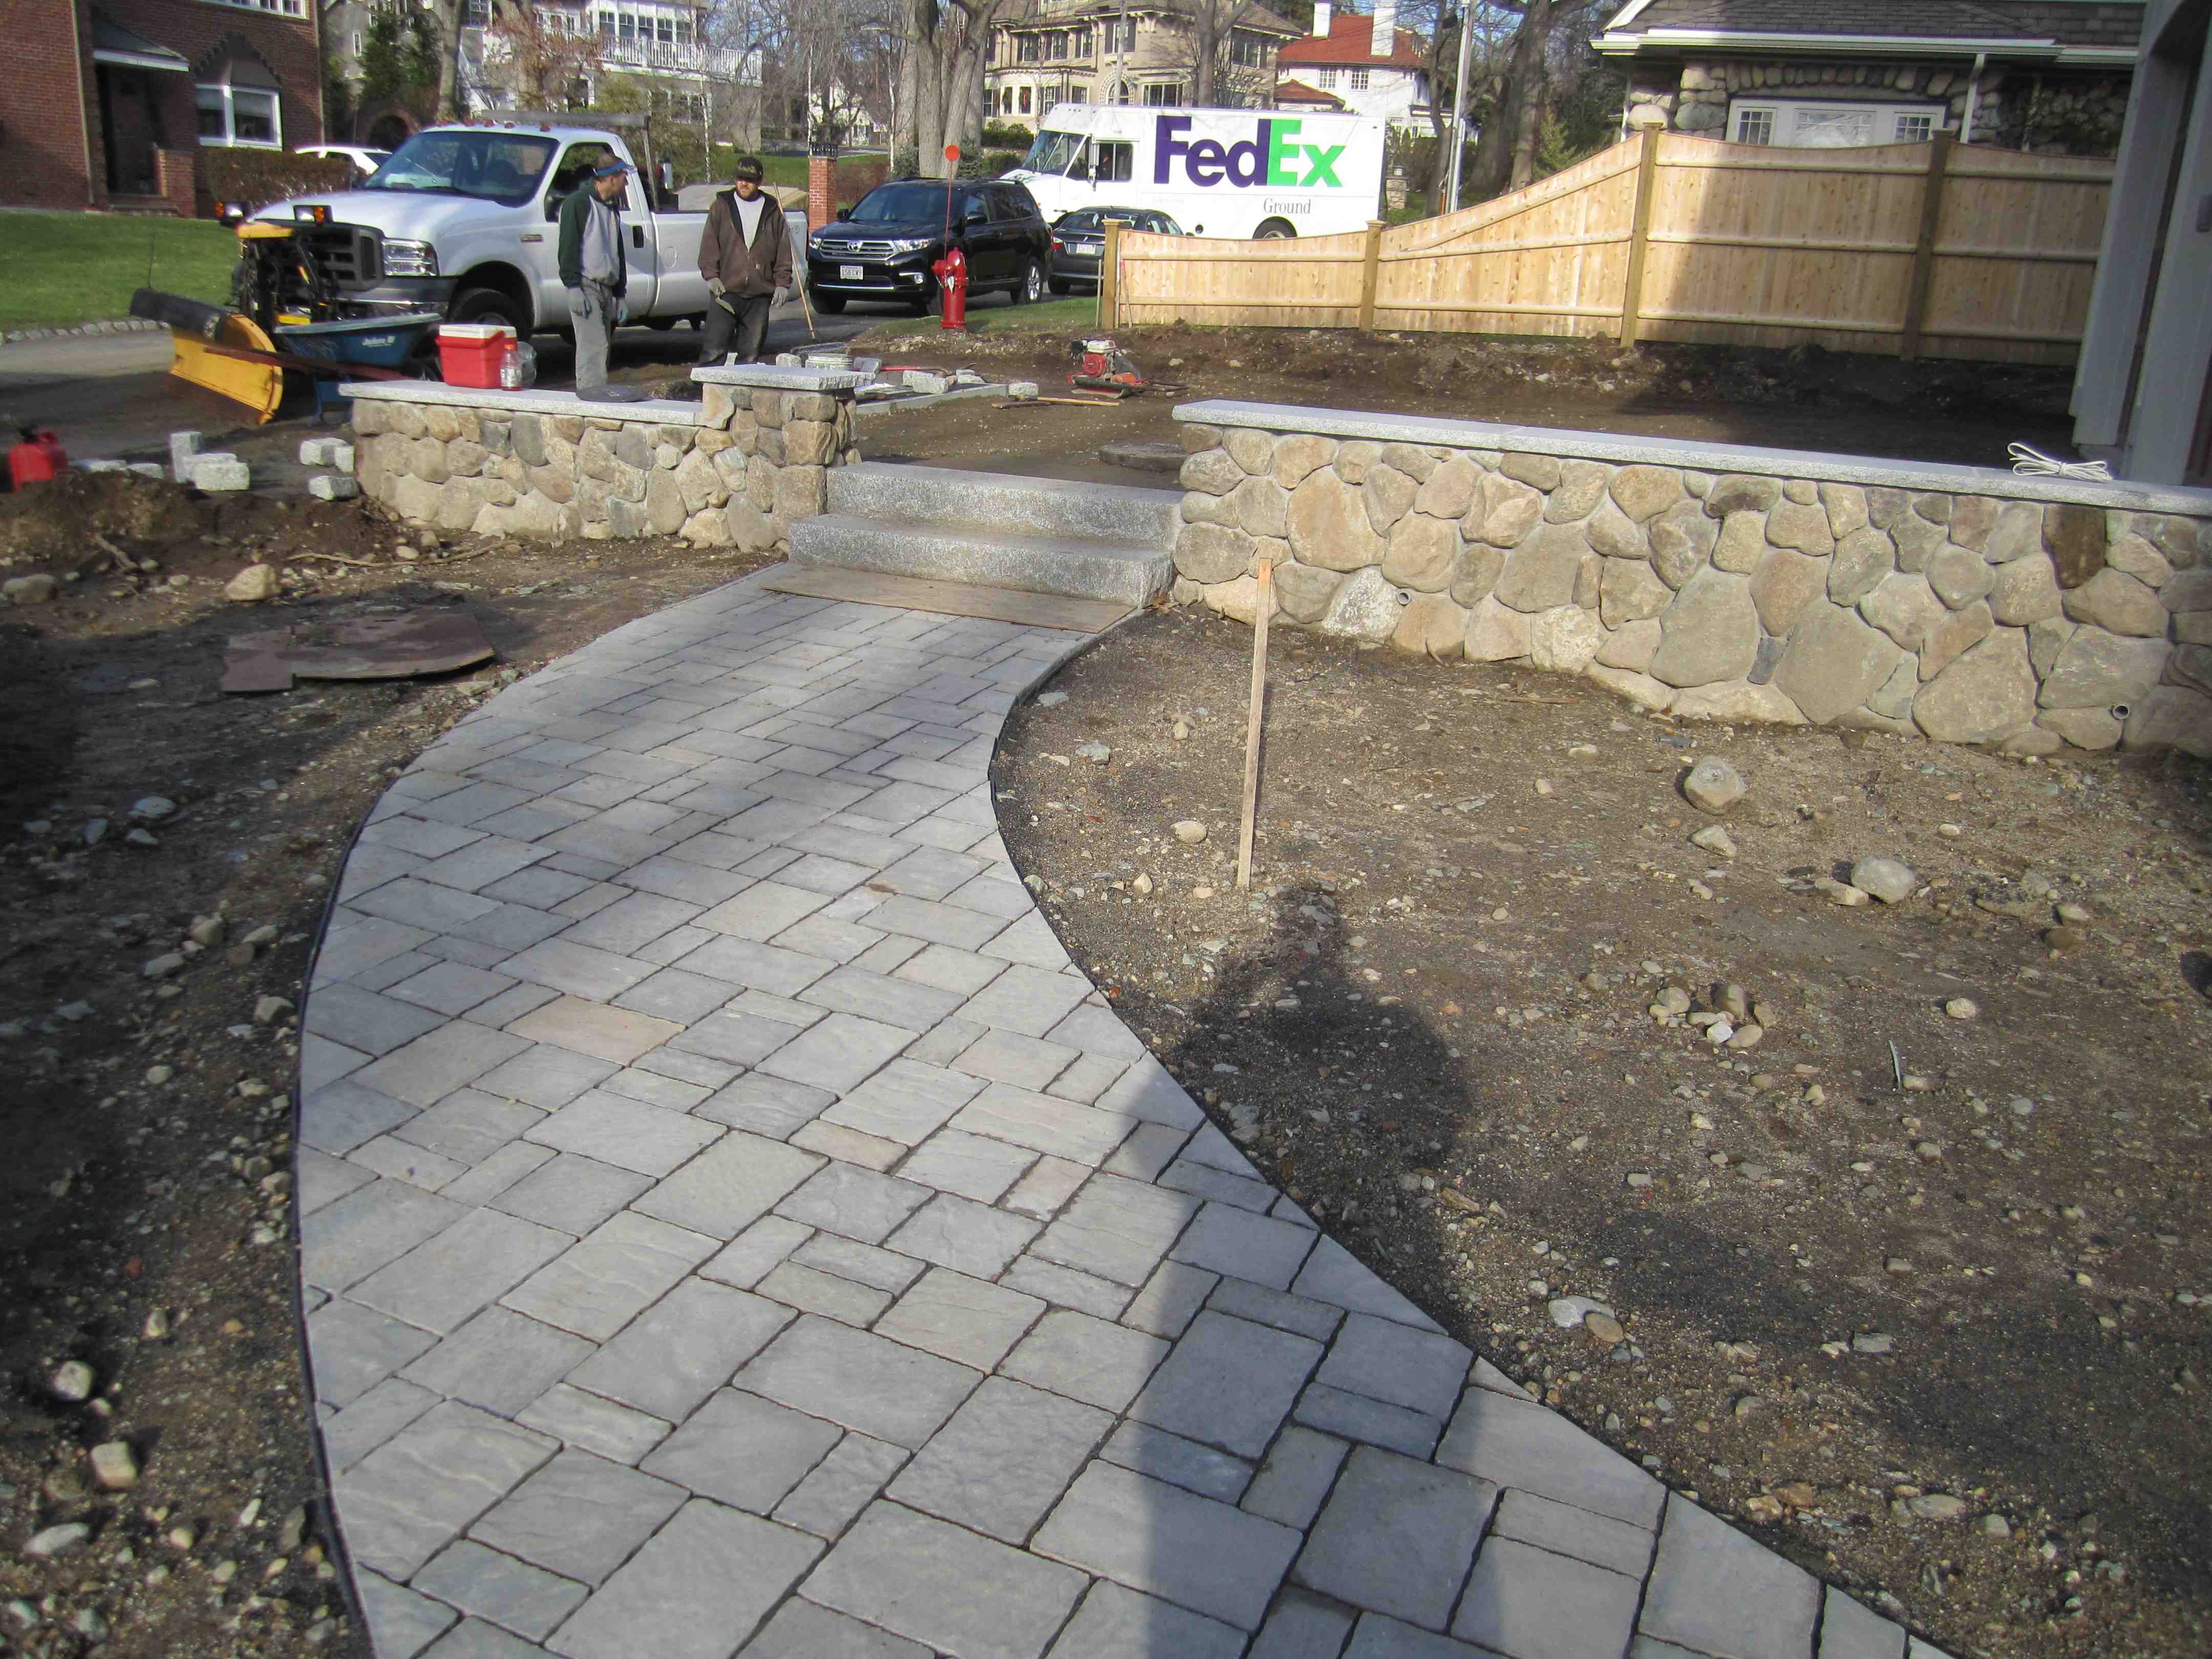
When choosing blocks for retaining walls, it’s important to consider the type and strength of the blocks. Concrete blocks are a popular choice due to their durability and moisture resistance. Cinder blocks are also commonly used, but they are lighter and may not be as strong as concrete blocks. For a more decorative option, you can use breeze blocks, which offer unique patterns and textures.
For secure installations, consider using interlocking block systems. These blocks have built-in lips or edges that lock together, providing extra stability. Some systems also use pins for secure assembly. This is particularly useful when installing electrical conduits, as the stability of the wall ensures that your electrical systems remain intact.
The footing for a retaining wall is crucial for its stability. Generally, the footing should be about 4 to 6 inches deep and 12 inches wide, or twice the width of the block you are using. This depth ensures that the blocks sit halfway into the soil, providing a stable base for the wall.
Proper footing is essential when installing electrical systems within the wall. A stable base prevents shifting or settling, which could damage electrical conduits or boxes. Additionally, using gravel at the base of the footing helps with drainage, reducing the risk of water damage to your electrical installations.
Building a retaining wall involves several key considerations:
When installing electrical systems, these factors are even more critical. Proper drainage prevents water from reaching electrical conduits, reducing the risk of short circuits or electrical fires. Ensuring correct alignment and using quality materials also contribute to the longevity and safety of your electrical installations.
By paying attention to these details, you can build a durable and safe retaining wall that integrates seamlessly with your electrical systems.
At McLeod Landscaping, we understand that your outdoor space is an extension of your home. Whether you’re looking to improve your garden with beautiful block walls or install complex electrical systems within those walls, we are here to help.
Our expertise in landscaping and hardscaping ensures that your projects are not only visually stunning but also structurally sound. From the initial planning stages to the final touches, we work closely with you to bring your vision to life. Our team is dedicated to providing personalized solutions that meet your specific needs and preferences.
The world of landscaping and hardscaping is always evolving. Here are some trends we see shaping the future:
Enhancing your outdoor space goes beyond just building walls. Here are some ideas to take your landscape to the next level:
By choosing McLeod Landscaping, you are investing in a change that improves both the functionality and beauty of your property. Our commitment to quality and customer satisfaction ensures that your outdoor space will be a place of enjoyment for years to come.
Ready to transform your landscape with expertly crafted block walls and innovative electrical installations? Contact McLeod Landscaping today to schedule a consultation and take the first step towards your dream outdoor space.
Contact McLeod Landscaping today at (978) 640-0957 or click here to schedule a consultation for retaining wall installation. Let our experienced team design and install a functional and visually appealing retaining wall that enhances your landscape.

1881 Main St Unit 1, Tewksbury, MA 01876