Concrete over brick steps is a popular choice for homeowners with crumbling, uneven, or outdated brick staircases. Here’s what you need to know:
Quick Answer:
While new brick steps are charming, time takes its toll. Water seeps into the mortar, freezes, and breaks off corners. This damage can spread, turning a step into an unsafe ramp.
Many homeowners have brick steps that have seen better days but don’t warrant complete demolition. Crumbling mortar and an uneven surface detract from curb appeal.
A concrete overlay offers a solution that can transform ugly brick steps into a smooth, modern surface without the cost of full replacement. However, success depends on proper preparation and knowing when this approach is suitable.
With over three decades of landscaping experience in the Merrimack Valley, I’ve helped many homeowners evaluate if concrete over brick steps is the right solution. Knowing when to overlay versus starting fresh can save thousands and prevent costly mistakes.

Glossary for concrete over brick steps:
When your brick steps show their age, you face a choice: tear them out or work with what you have? Pouring concrete over brick steps is a middle-ground solution between a quick fix and a major renovation, but it comes with trade-offs.
The decision often comes down to weighing convenience against long-term reliability.
| Feature | Concrete Overlay (Over Brick) | Full Demolition & Replacement |
|---|---|---|
| Cost | Lower (avoids demolition, new foundation) | Higher (demolition, new materials, labor) |
| Time | Faster (less prep, no new foundation) | Slower (demolition, debris removal, new build) |
| Durability | Good, if brick base is sound & properly prepped | Excellent, if built to code from scratch |
| DIY-Friendliness | Moderate (requires precision in prep & pour) | Low (heavy labor, specialized skills) |
The biggest draw of pouring concrete over brick steps is cost savings. Skipping demolition avoids the expense, mess, and time of starting from scratch, including debris removal and foundation work. The time savings are also appealing, as a shorter timeline means less disruption to your daily routine.
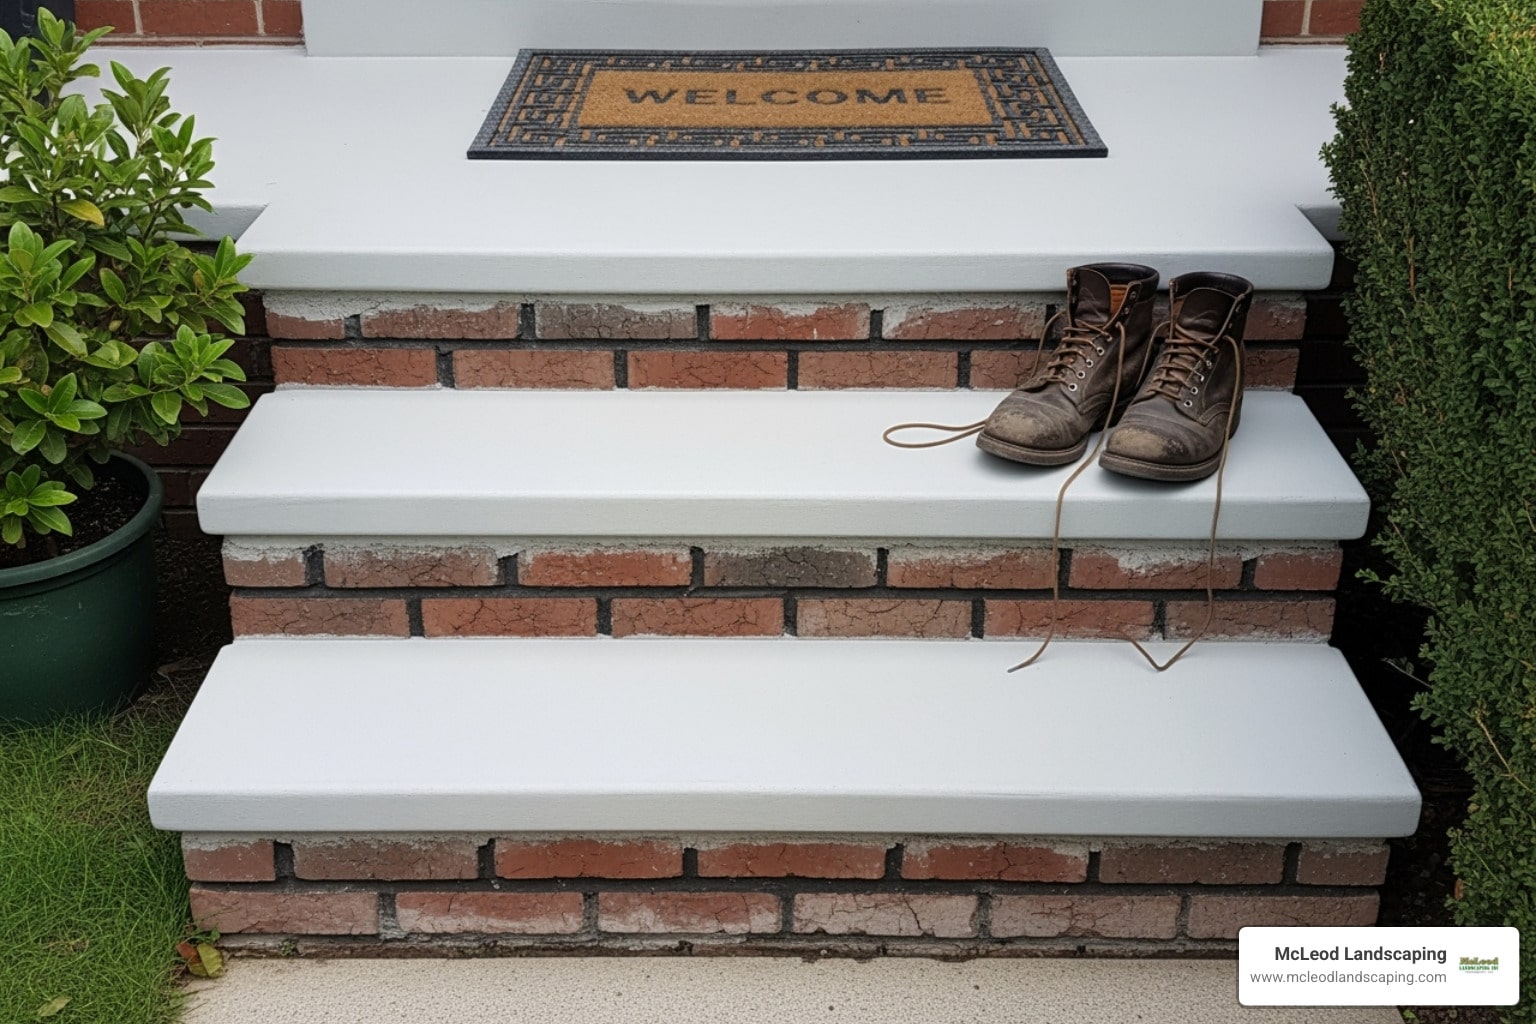
From a modern aesthetic standpoint, concrete offers a clean, contemporary look that can modernize dated brick steps. The smooth, safe surface eliminates uneven brick edges, which are common trip hazards. An overlay also effectively hides ugly brick—whether stained, chipped, or outdated—providing a fresh canvas that dramatically improves curb appeal.
However, pouring concrete over brick steps has risks. The biggest concern is cracking from shifting. If the underlying brick isn’t stable, any movement will transfer to the new concrete surface, causing cracks.
Poor bonding can also spell disaster. If the brick surface has loose mortar, dirt, or isn’t properly prepared, the new concrete can separate from the brick, creating hollow spots that will eventually fail.
Trapped moisture is a serious threat, especially in the Merrimack Valley’s freeze-thaw cycles. Water between the layers can freeze, expand, and break apart your new steps.
Perhaps the most dangerous pitfall is hiding underlying structural problems. Covering sinking or compromised steps is a temporary cosmetic fix. The root issues will eventually reappear, often requiring more extensive and costly repairs than if they were addressed upfront.
Success requires an honest assessment. An overlay is a great solution for structurally sound steps with mainly cosmetic issues. But for deeper structural concerns, you’re better off starting fresh.
Before you mix any concrete, a thorough assessment and meticulous preparation of your existing brick steps are critical. Skipping this phase is like building on sand; the project won’t last. This assessment is like a checkup for your steps—you must diagnose the problem before pouring concrete over brick steps.

The decision to repair or demolish comes down to structural integrity. Some problems can be fixed, while others require a fresh start.
When the foundation is compromised, covering the problem is a temporary fix. The underlying issue will eventually cause the new concrete to fail. In these cases, complete demolition is the only lasting solution.
If your steps are structurally sound, preparation is the key to success. There are no shortcuts.
Rushing preparation can cause your new concrete over brick steps to crack or fail. Taking your time ensures a durable result that will last for decades.
Once your brick steps are assessed and prepared, you can pour the new concrete overlay. This process requires patience and precision for a durable, attractive finish.

Have all your tools and materials ready before you start mixing concrete, as time will be critical.
Building forms defines the final shape of your steps, so accuracy is key for a professional look.
This is where your preparation pays off. The goal is a smooth, durable, and safe surface.
Once your concrete over brick steps project is complete, you’ll have a sleek, welcoming entrance. But what is the long-term value of this investment?

When done correctly over a solid foundation, a concrete overlay can provide decades of reliable service. The secret to longevity is sealing. After the concrete cures (about 28 days), apply a quality sealer to protect against water, stains, and freeze-thaw cycles, which is crucial in New England.
Daily maintenance is simple: sweep away debris and occasionally wash with mild soap and water. Avoid high-pressure washing or harsh chemicals to protect the sealer.
During seasonal inspections, look for and fill small cracks early to prevent larger issues. For significant problems, our team offers comprehensive Masonry Services in the Merrimack Valley.
The cost of concrete over brick steps is often a deciding factor.
For a DIY project, material costs typically range from $300 to $1,500 for an average set of steps. The final cost depends on project complexity and materials. Please note that these are average costs based on internet data and not specific to any particular contractor’s pricing.
Professional installation can range from $1,500 to $6,000 or more, depending on location, complexity, and the amount of prep work required. Again, these are average costs based on general industry data.
The savings are clear when compared to complete demolition and replacement, which can easily cost $3,000 to $10,000 or significantly more. This higher price includes demolition, debris removal, and building a new foundation from scratch. A concrete overlay can save thousands while providing a modern look, making it a smart financial choice for many.
For homeowners considering broader outdoor improvements, our Hardscaping Services can help create a cohesive design.
We’ve helped many Merrimack Valley homeowners with their steps. Here are common questions about concrete over brick steps and honest answers to prevent future headaches.
A thicker cap is always stronger. We strongly recommend a minimum thickness of 1.5 to 2 inches for durability. A thin overlay is more likely to crack from impact or weather. While a cap should never be less than 3/4 inch thick, don’t expect it to be as durable. Skimping on thickness often leads to cracks after the first hard winter.
Self-leveling products are not recommended for this application, especially in Massachusetts. They are designed for stable indoor floors and may not withstand outdoor temperature changes and foot traffic like a traditional concrete cap.
A traditional concrete cap is more durable because it’s formulated for harsh outdoor conditions. It has better strength and abrasion resistance, justifying the extra work for a long-lasting result.
Yes, always check local building codes. They exist for safety, as improperly built steps are dangerous. Your local building department in the Merrimack Valley has specific requirements. Universally, step height (rise) and depth (run) must be uniform; even small variations can cause trips.
Handrails may be required based on the number of steps and local regulations. Adding them now can improve safety, especially for older guests.
For more guidance, reviewing ADA standards is helpful. While not always required for residences, these guidelines help ensure your steps are safe for everyone. A quick call to your building department before starting can prevent having to redo work.
Replacing deteriorating brick with a concrete over brick steps overlay is a rewarding project. When done correctly, it offers a modern look and significant cost savings over full demolition.
Success hinges on proper assessment and meticulous preparation. Time spent cleaning, repairing, and applying bonding agents ensures longevity. Rushing this phase can lead to cracks and delamination.
While a possible DIY project, concrete over brick steps requires precision with forms, concrete consistency, and finishing for safety. Small mistakes in preparation or execution can lead to costly repairs.
For peace of mind, Merrimack Valley homeowners can rely on McLeod Landscaping. With over three decades of hardscaping experience, we understand New England’s weather and build steps that last through countless freeze-thaw cycles.
Whether you have crumbling mortar or just want a modern look, the right approach is key. Explore our Front Stairs and Step Installation services to improve your home’s safety and curb appeal.
Contact McLeod Landscaping today at (978) 640-0957 or click here to schedule a consultation for retaining wall installation. Let our experienced team design and install a functional and visually appealing retaining wall that enhances your landscape.
1881 Main St Unit 1, Tewksbury, MA 01876