How to build an outdoor firepit is a common question for those looking to transform their backyard into a cozy gathering place. Follow these quick steps to get an idea:
Building an outdoor fire pit doesn’t need to be complicated. It just takes some time, planning, and the right materials. Always prioritize safety by picking a location that’s a safe distance from your house and any low-hanging branches.
Whether you want a circular or square fire pit, make sure to use fire-safe materials like concrete pavers or fire bricks. Consult your local building codes and insurance policy before starting to avoid any legal hang-ups.
I’m Scott McLeod, and for over 30 years, I’ve been helping people create beautiful and functional outdoor spaces. If you’re ready to dive into the process of how to build an outdoor firepit, you’re in the right place.
Before you start building your outdoor fire pit, proper planning is essential. Here are the key steps to consider:
First, it’s crucial to check local building codes and ordinances to ensure that fire pits are allowed in your area. Some regions have strict regulations on fire pit size, location, and fuel types. Ignoring these rules can lead to fines or even the removal of your fire pit.
Tip: Call 811 to check for underground utilities before any digging. This is a free service that helps you avoid damaging gas, water, or electrical lines.
Next, review your homeowner’s insurance policy. Some policies might have restrictions or specific requirements for outdoor fire pits. Knowing these details upfront can save you from potential issues later.
Example: A client of ours once had to move their fire pit because their insurance policy required it to be at least 25 feet from any structures. Always double-check to avoid similar situations.
For those who prefer a straightforward approach, a fire pit kit can be a great option. These kits come with all the materials you need and step-by-step instructions. They are designed for easy assembly, making them ideal for DIY enthusiasts.
Benefits of Fire Pit Kits:
– Pre-measured materials
– Detailed instructions
– Often include a metal ring for added safety
If you prefer a custom look or want to save money, you can gather your own materials. Here’s what you’ll need:
Avoid: Pea gravel and river rocks, as they can retain moisture and potentially explode when heated.
Pro Tip: Use reclaimed materials like bricks or stones from salvage yards to add character and save money.

By planning ahead and choosing the right materials, you can build a safe and stylish fire pit that will be the centerpiece of your outdoor space. Next, we’ll guide you through selecting the perfect location for your fire pit.
Choosing the right spot for your fire pit is crucial for safety and enjoyment. Here are some key factors to consider:
Place your fire pit at least 10 feet away from any structures, including your house, sheds, or fences. This distance helps prevent accidental fires and ensures that the heat doesn’t damage nearby buildings. For added safety, aim for 25 feet if space allows.
Avoid areas with low-hanging branches or overhanging vegetation. Trees can easily catch fire from flying embers, so it’s best to position your fire pit in an open space. If you can’t find a completely open spot, make sure there’s a clear vertical space of at least 10 feet above the fire pit.
A level surface is essential for stability. Uneven ground can cause your fire pit to tilt, making it unsafe. Use a stake and string level to check the ground’s evenness. If necessary, you can level the area by adding or removing soil.
By selecting a safe, open, and level location, you ensure that your fire pit will be both enjoyable and secure. Next, we’ll cover the step-by-step process of building your fire pit.
When building an outdoor fire pit, the materials you choose are crucial for safety, durability, and aesthetics. Here’s a breakdown of the best options:
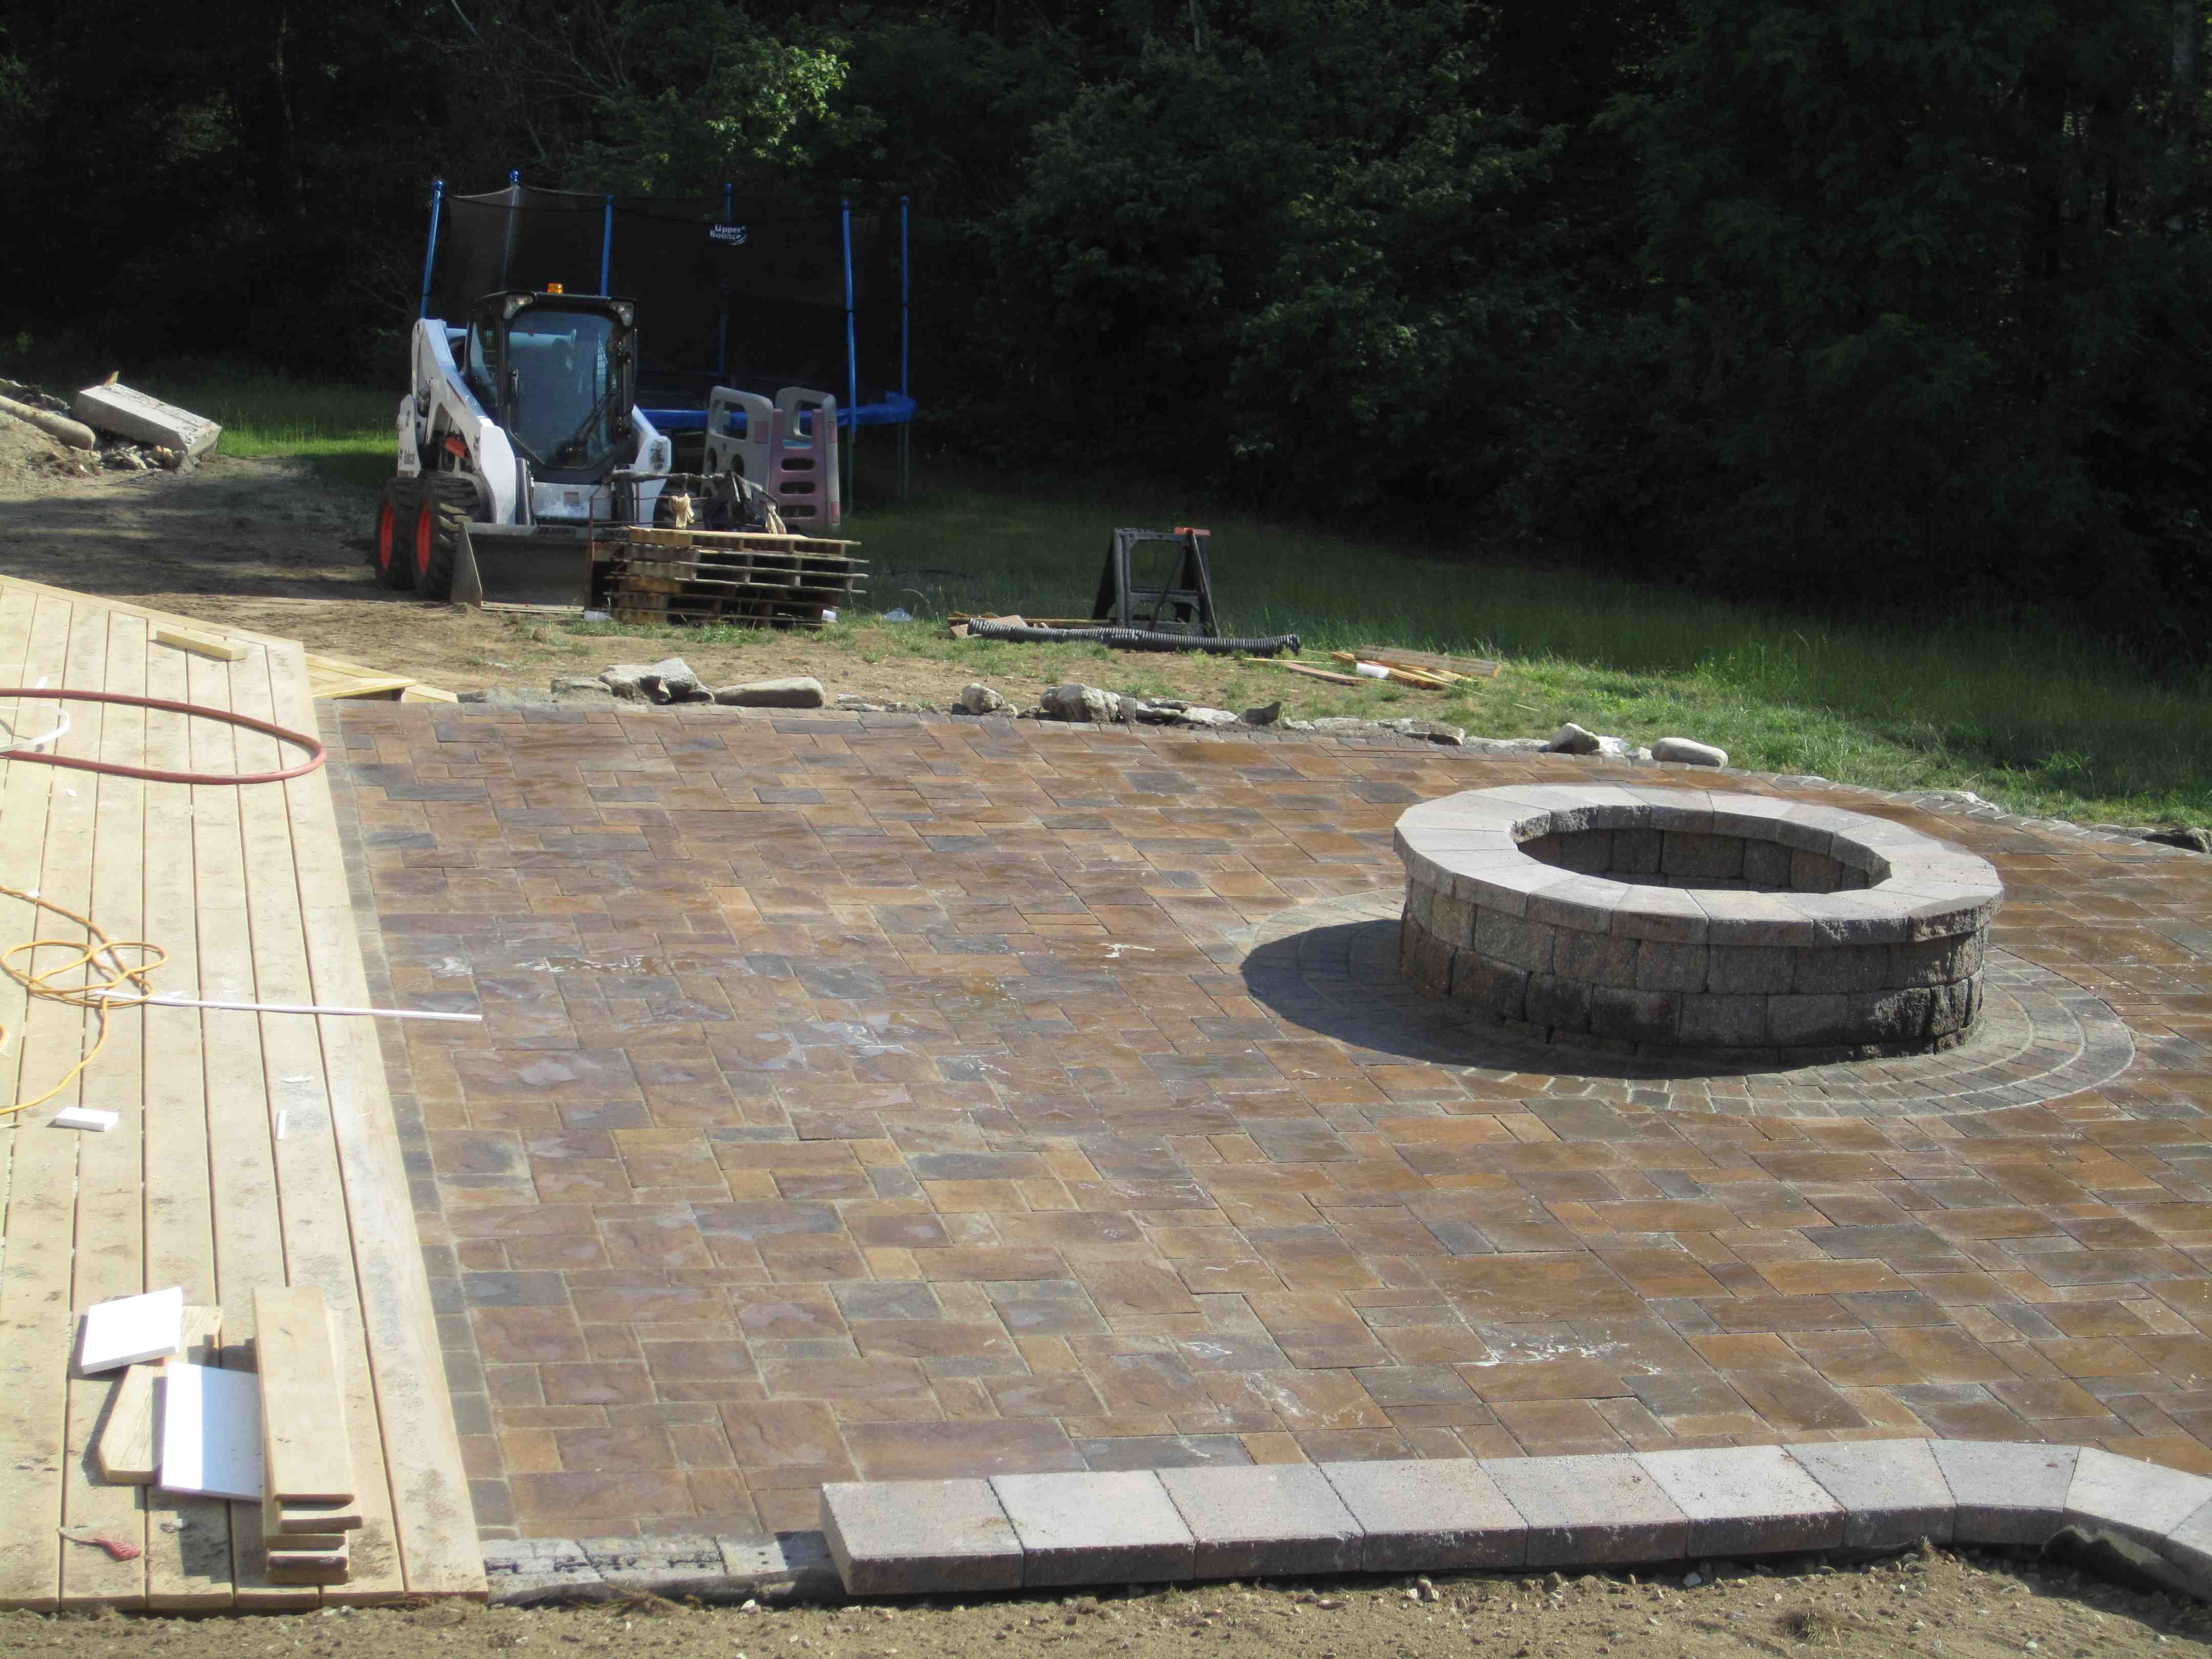
Concrete pavers are a popular choice for building fire pits. They are affordable, easy to work with, and come in various shapes and sizes. Pavers can be arranged in different patterns, making them versatile for both circular and square fire pits.
Concrete blocks are another excellent option. They are sturdy and can withstand high temperatures. These blocks are perfect for creating a square or rectangular fire pit.
For the interior of your fire pit, fire bricks are essential. These bricks are designed to withstand direct contact with fire and high temperatures, ensuring the longevity of your fire pit.
Pea gravel is commonly used for the base of the fire pit. It provides a stable, inflammable surface and helps with drainage.
A metal ring or fire pit insert can be added to your fire pit to help contain the fire and protect the structure. Metal rings are especially useful for circular fire pits.
By choosing the right materials, you can ensure your fire pit is safe, durable, and visually appealing. Next, we’ll dive into the step-by-step process of building your fire pit.
First, outline the footprint of your fire pit. For a circular fire pit, you’ll need a stake and some marking paint:
For a square fire pit, simply lay out the first layer of blocks to create the shape, then use a shovel to outline the perimeter.
Next, remove the sod and dirt inside the marked area to a depth of about 7 inches. Keep the area level as you dig.
Pack the dirt solidly with a hand tamper to create a stable base.
The bottom of your fire pit needs an inflammable surface for safety. Here’s how to build it:
Now, it’s time to lay out the first layer of blocks:
To ensure your fire pit is sturdy:
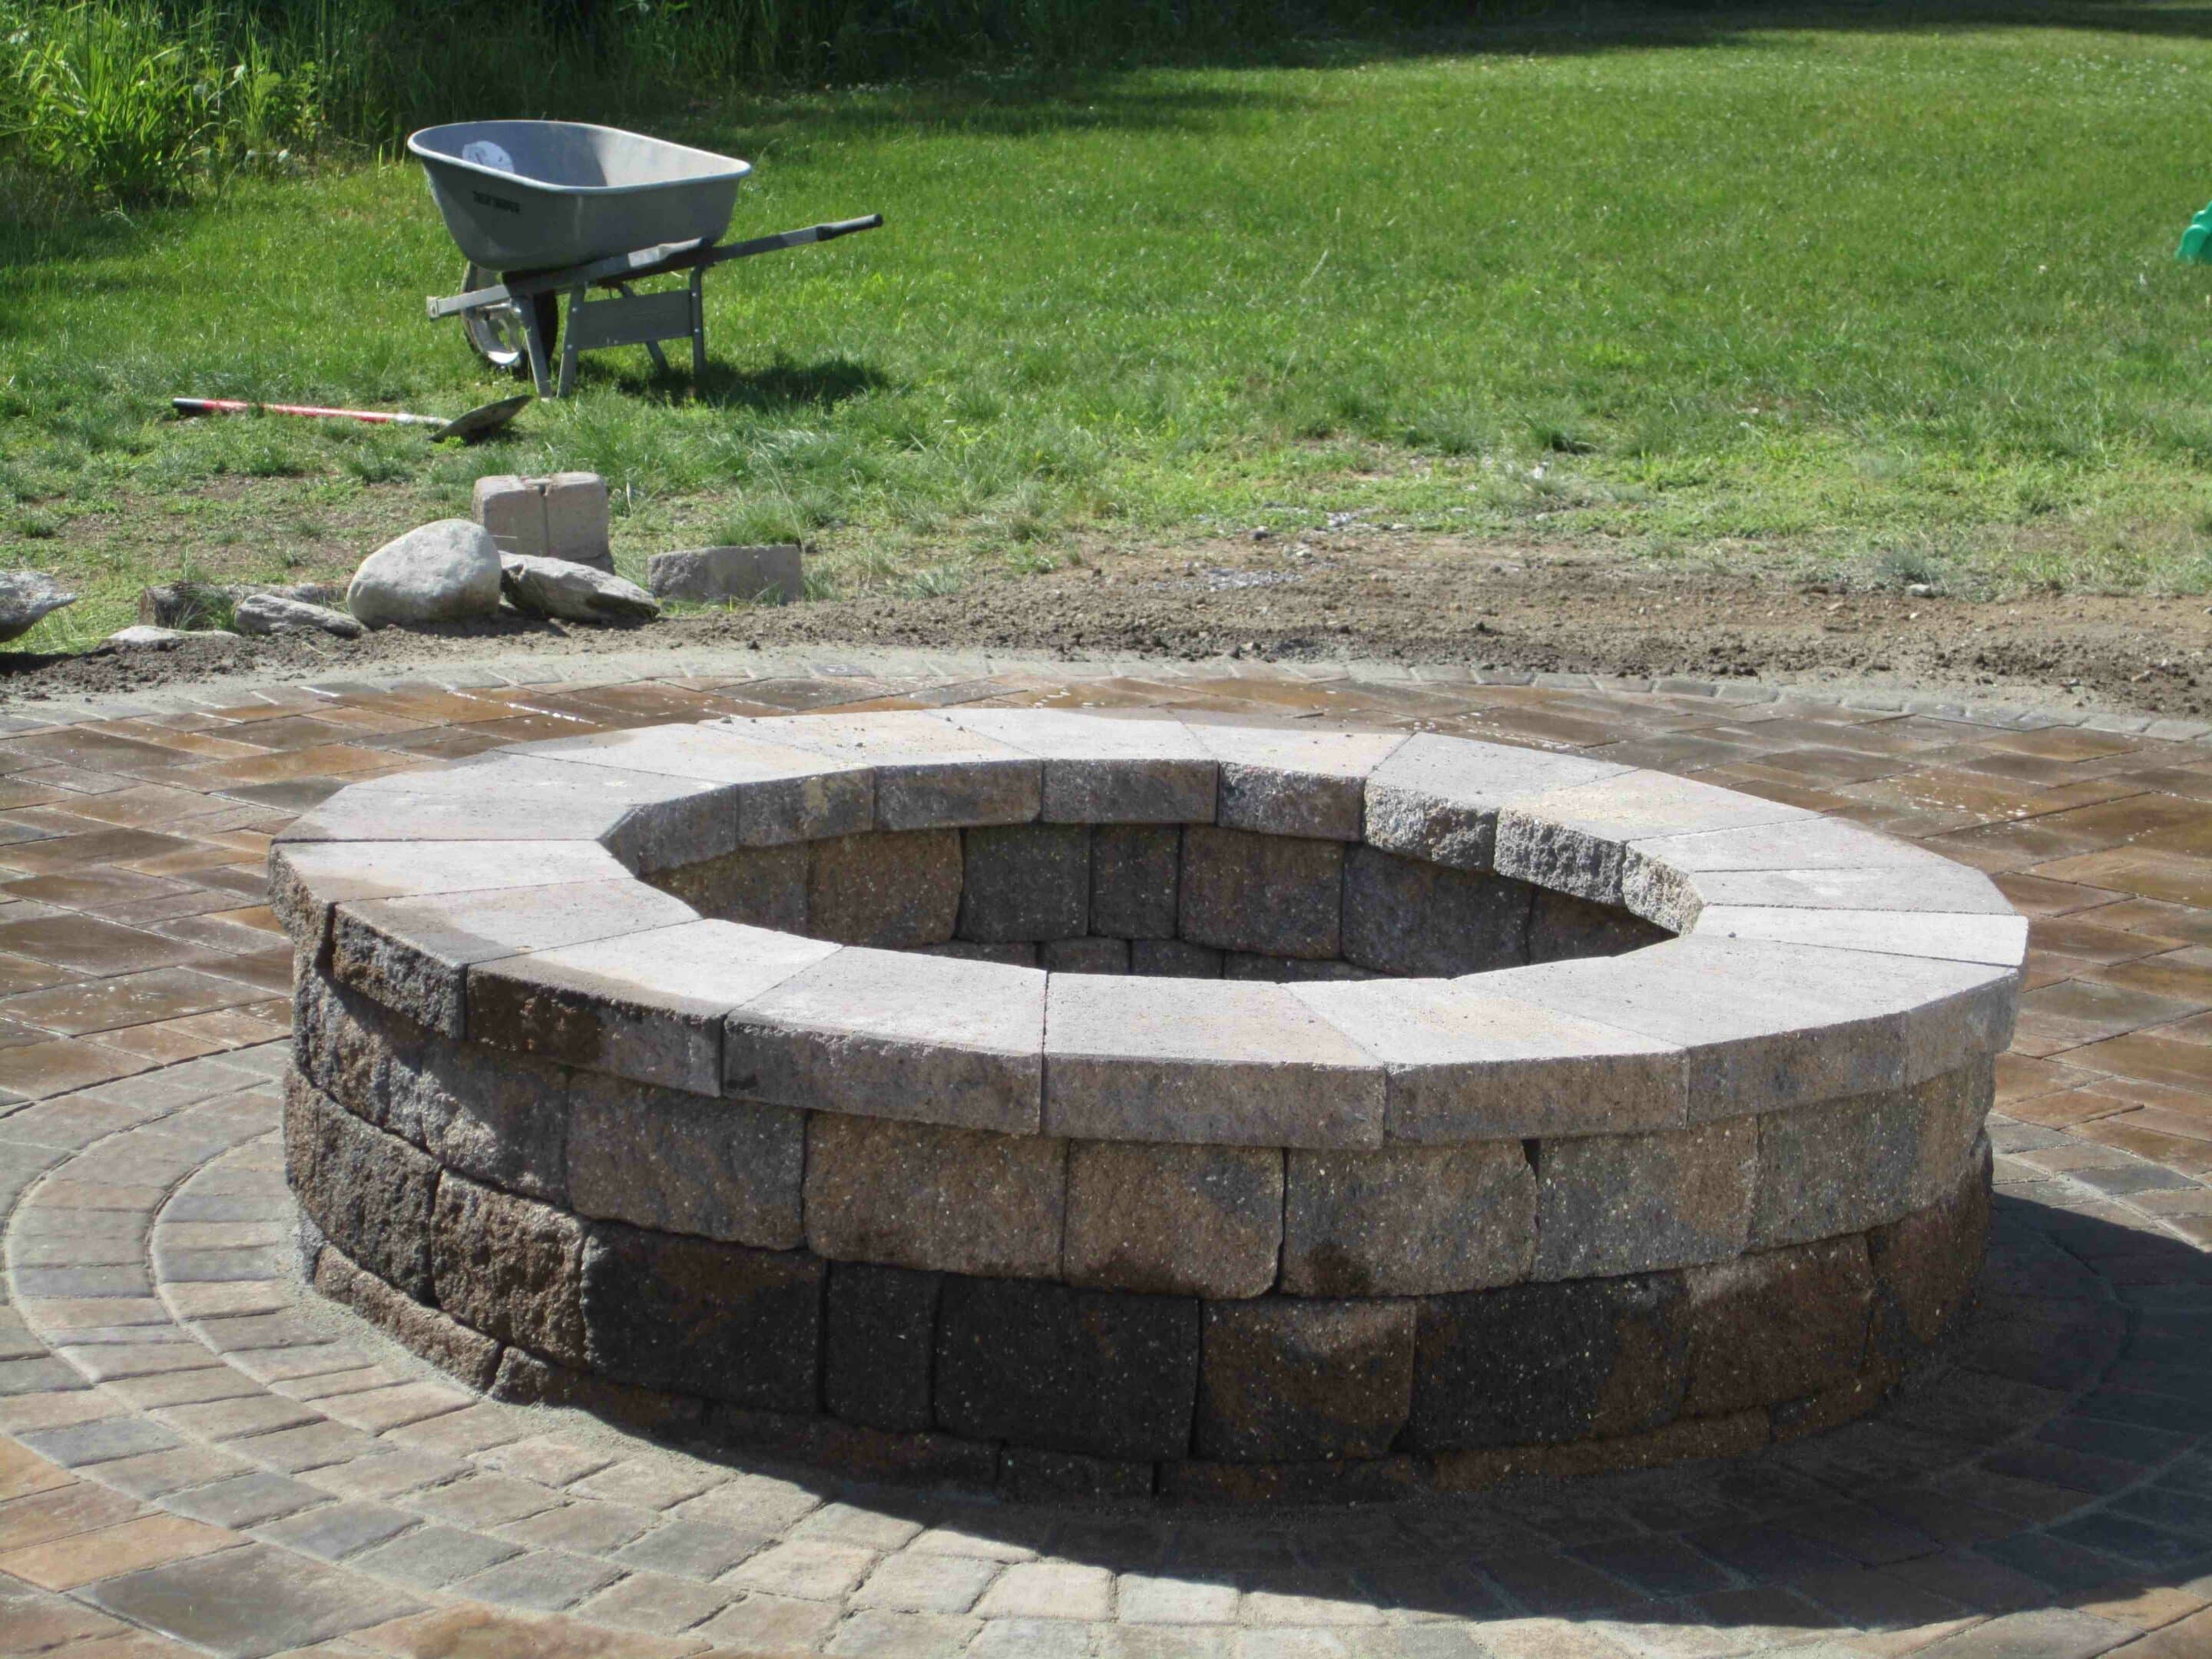
Finally, add the finishing touches to your fire pit:
By following these steps, you’ll have a beautiful and functional fire pit that’s ready for gatherings. Next, we’ll discuss maintenance and safety tips to keep your fire pit in top shape.
Keeping your fire pit clean is essential for both safety and longevity.
Proper ash disposal is crucial to prevent accidental fires.
Safety should be your top priority when using a fire pit.
By following these maintenance and safety tips, you’ll ensure your fire pit remains a safe and enjoyable feature of your outdoor space. Now, let’s move on to the conclusion, where we’ll wrap up our guide on building and maintaining your perfect fire pit.
Building an outdoor fire pit is more than just a DIY project; it’s about creating a gathering place where memories are made. Imagine cozying up with friends and family on a chilly evening, sharing stories and enjoying the warmth and glow of your custom fire pit.
A well-built fire pit not only improves your outdoor living space but also adds value to your home. It serves as a focal point for socializing, making your backyard the go-to spot for gatherings, parties, and quiet nights under the stars.
At McLeod Landscaping, we specialize in creating custom fire pits that align with your style and functional needs. With over 30 years of experience, our team ensures that your fire pit is not only beautiful but also safe and durable.
Whether you choose a traditional wood-burning pit or a modern gas-powered feature, we can bring your vision to life. Our expertise in custom designs and quality craftsmanship guarantees a fire pit that you and your loved ones will enjoy for years to come.
Ready to transform your outdoor space? Contact McLeod Landscaping today to get started on your custom fire pit installation. Let’s create a space where you can make lasting memories.
Contact McLeod Landscaping today at (978) 640-0957 or click here to schedule a consultation for retaining wall installation. Let our experienced team design and install a functional and visually appealing retaining wall that enhances your landscape.
1881 Main St Unit 1, Tewksbury, MA 01876