When it comes to maintaining a lush, green lawn, nothing beats an efficient irrigation system. If you’re wondering how to install an irrigation system to save water and keep your landscape healthy, look no further. Here’s a quick step-by-step overview:
Using a smart irrigation system can help conserve water by integrating soil moisture sensors and weather data analysis, ensuring precise watering only when necessary. This not only saves water but also reduces your water bills.
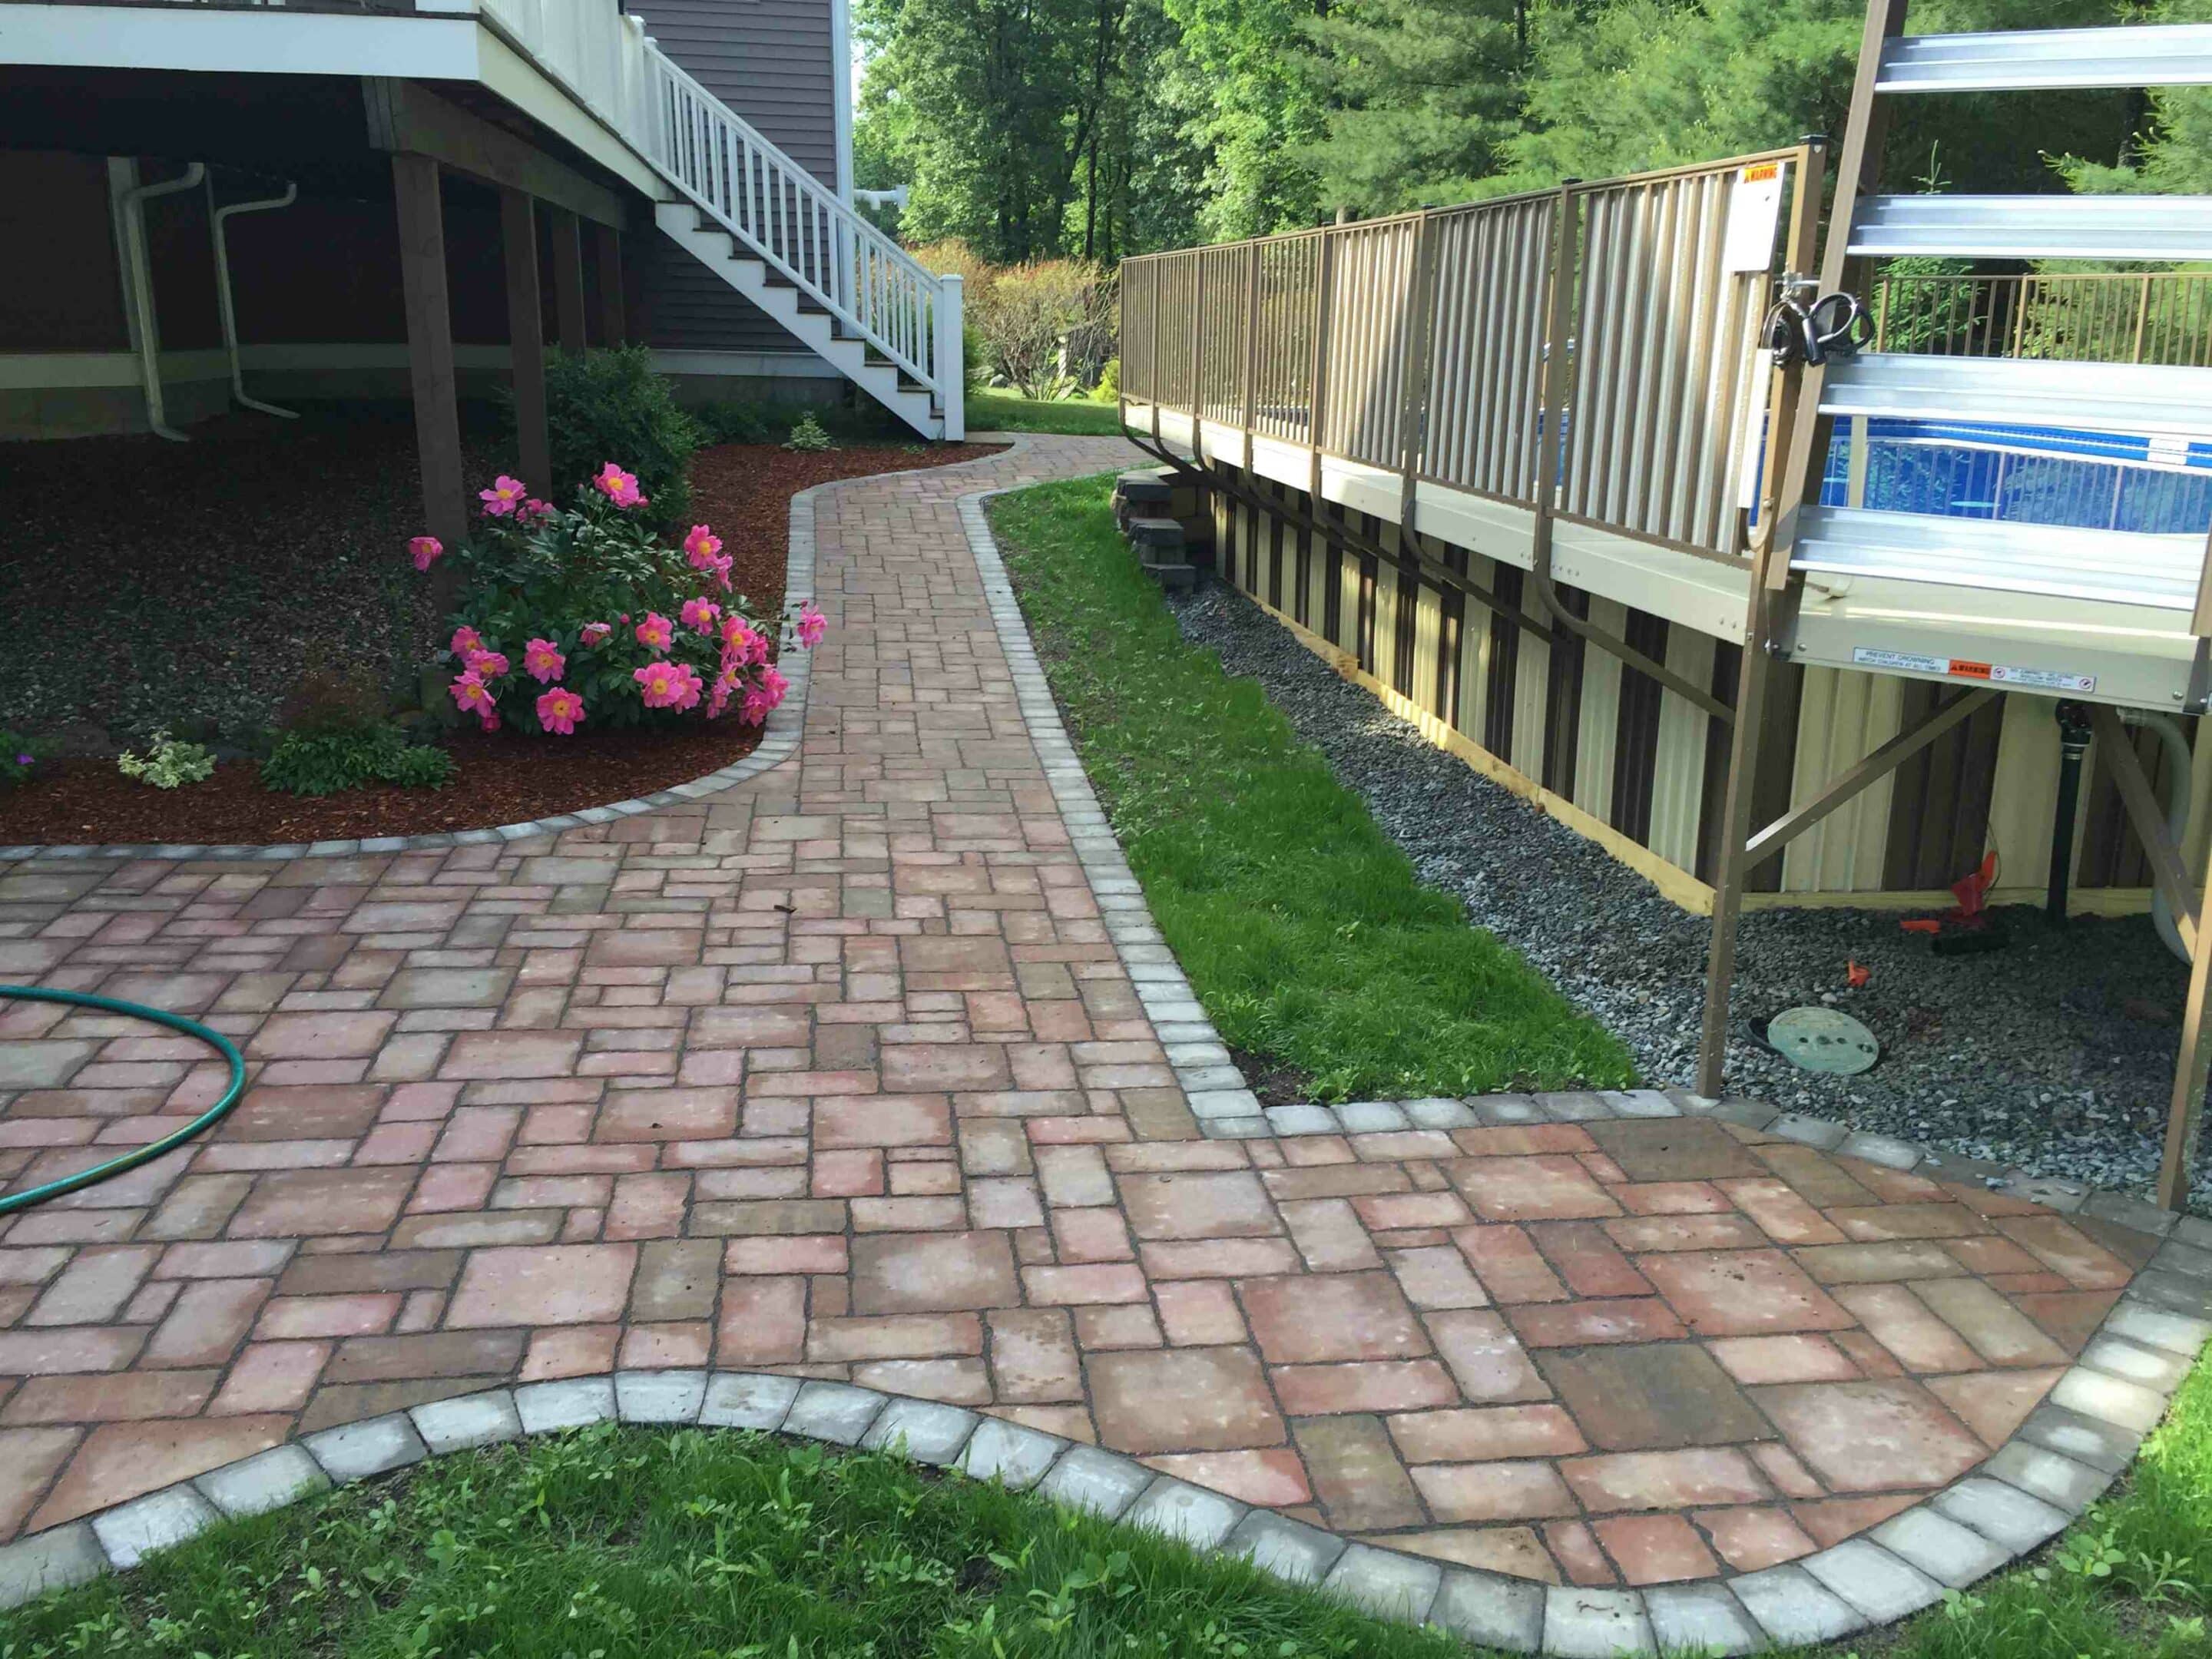
I’m Scott McLeod, the owner of McLeod Landscaping. With over 30 years of experience, my team and I have been installing irrigation systems that transform residential and commercial landscapes. Here’s your roadmap to get started.

Before you start digging, take a good look at your yard. Identify different areas like your lawn, flower beds, and any obstacles like driveways or sheds.
Measure the total area you need to water. Note down any narrow sections or ditches, like the large ditch running across the southern edge of your property. This will help you decide where to place your sprinkler heads and how many zones you’ll need.
Knowing your water pressure is crucial for a well-functioning irrigation system. You’ll need a pressure gauge to measure it. Attach the gauge to an outside faucet and ensure all other faucets are turned off. The gauge will give you a reading in PSI.
Alternatively, you can contact your local municipality for an estimate. But remember, this will likely be an average for your neighborhood, not your specific home.
If you’re on a municipal water system, check the size of your water meter. It’s usually printed on the meter itself. Common sizes are 5/8 inch, 3/4 inch, and 1 inch. If you’re using a well, refer to your pump’s manual for its size.
To match your irrigation pipes to your existing water service, measure the size of your incoming supply line. Wrap a piece of string around the pipe, measure the length, and compare it to a sizing chart.
Flow rate is measured in gallons per minute (GPM).
For example, if it takes 15 seconds to fill a gallon, your flow rate is 4 GPM (1 gallon / 15 seconds * 60).
Before you start digging, check for any local codes or permits you might need. Some areas require a licensed professional for installation.
Also, check local codes for backflow prevention requirements. A backflow preventer keeps contaminated water from entering your clean water supply. The most common types for residential use are Pressure Vacuum Breakers (PVB) and Double Check Valves (DCV).
Pro Tip: Always call 811 to have underground utilities marked before you dig. This will help you avoid costly and dangerous mistakes.
Planning your irrigation system involves several key steps:
With these steps, you’ll be well on your way to installing an efficient and effective irrigation system.
Next, we’ll dive into Choosing the Right Irrigation System Components. Let’s get started!
Choosing the right components for your irrigation system is essential for ensuring efficient and effective watering. Let’s break down the key elements you need to consider: PVC vs. Polyethylene, Sprinkler heads, Valves, Timers, Controllers, and Sensors.
PVC (Polyvinyl Chloride) Pipe:
– Strength: Rigid and strong, making it ideal for areas with stable temperatures.
– Connections: Uses adhesive for connections, which provides a secure and leak-proof seal.
– Cutting: Can be cut with a hand saw or pipe cutter.
Polyethylene Pipe:
– Flexibility: More flexible than PVC, which makes it suitable for cold climates where the ground freezes.
– Installation: Comes in rolls and requires fewer fittings, making it easier to navigate around obstacles.
– Connections: Uses specially designed clamps for connections.
– Cutting: Also cut with a hand saw or pipe cutter.
Sprinkler heads come in various styles to meet different watering needs:
Valves control water flow to each zone:
Timers automate the watering schedule:
Controllers manage the entire irrigation system:
Sensors help optimize water usage:

Choosing the right components is crucial for a well-functioning irrigation system. The next step is to start Digging Trenches and laying out your system. Let’s move on to the installation process!
First, mark the locations of your sprinkler heads and the path for your pipes using stakes or flags. This step ensures you follow your plan accurately.
Trench Depth: Dig trenches about 6 to 12 inches deep. This depth protects pipes from damage and allows for proper water flow.
Avoiding Utilities: Always call 811 to have utilities marked before you dig. Hand-dig around marked areas to avoid damaging any cables or pipes.
Manual vs. Trencher: For small areas, digging by hand with a trench shovel works well. For larger areas, consider renting a power trencher. It saves time and effort.
PVC Assembly: If using PVC, apply PVC cement to both the inside of the fitting and the outside of the pipe. Insert the pipe fully and twist slightly to spread the cement evenly. Hold for a few seconds to ensure a strong bond.
Poly Pipe Installation: For poly pipes, slide a clamp over the pipe, insert the fitting, and then tighten the clamp. Double-clamp main lines for extra security.
Connecting to Water Source: Connect your pipes to the water source, ensuring you follow local codes. This may involve installing a backflow preventer to protect your water supply from contamination.
Head Placement: Position sprinkler heads at the marked locations. Ensure they are level with the ground to avoid tripping hazards.
Coverage Pattern: Adjust the nozzles to cover the desired area. Overlapping spray patterns ensure even watering.
Adjusting Nozzles: Fine-tune the spray distance and direction of each nozzle. This helps avoid watering sidewalks or driveways.
Electrical Connections: Connect the wires from each valve to the controller. Follow the manufacturer’s instructions for proper wiring.
Timer Setup: Program the timer to control when and how long each zone waters. Set different schedules for different areas based on their watering needs.
Zone Programming: Assign each valve to a specific zone on the controller. Write down which valve corresponds to which zone for easy reference.
System Flushing: Before attaching the sprinkler heads, manually flush the system by opening each valve. This clears out any dirt or debris in the pipes.
Leak Checking: Turn on the water and inspect the system for any leaks. Tighten connections or replace faulty parts as needed.
Spray Pattern Adjustment: Test each sprinkler head to ensure it covers the intended area. Make any necessary adjustments to the nozzles.
By following these steps, you’ll have a well-functioning irrigation system that keeps your lawn green and healthy. Next, we’ll cover Maintenance and Troubleshooting to ensure your system stays in top shape.
Proper winterizing protects your irrigation system from freezing temperatures. Here’s how to do it:
Getting your system ready for the warmer months is crucial:
Leaks can waste water and increase your bill. Here’s how to fix them:
Clogged sprinkler heads can disrupt water flow and coverage:
By following these steps, your irrigation system will remain efficient and effective. Next, we’ll answer some Frequently Asked Questions about Installing an Irrigation System to help you further.
Absolutely! Many homeowners successfully install their own irrigation systems. However, it requires careful planning and some basic DIY skills. As one Reddit user shared, “Eight summers of installing sprinkler systems has paid off.”
Here’s what you need to know:
The depth of your trenches is crucial for a successful installation. Generally, aim for about 10 inches deep. This depth helps protect the pipes from damage and ensures efficient water delivery.
Tips for digging trenches:
– Avoid Utilities: Always hand-dig around utility lines.
– Use a Vibratory Plow: This tool can make the job faster and cleaner, especially in existing lawns.
Installing an irrigation system involves several key steps. Here’s a simplified guide:
For more detailed instructions, refer to our Sprinkler System Installation Guide.
By following these steps and utilizing resources like Rainbird’s design service, you can achieve a lush, green lawn efficiently.
Installing an irrigation system might seem daunting, but with the right plan and tools, it’s entirely achievable. By following the steps we’ve outlined and using quality products, you can ensure your lawn stays green and healthy.
At McLeod Landscaping, we understand the importance of a well-maintained lawn. That’s why we offer professional irrigation system services to help you get the best results. Our team of experts can design, install, and maintain your system to ensure it operates efficiently.
Why Choose McLeod Landscaping?
Ready to transform your lawn? Learn more about our irrigation system services and get started today!
Contact McLeod Landscaping today at (978) 640-0957 or click here to schedule a consultation for retaining wall installation. Let our experienced team design and install a functional and visually appealing retaining wall that enhances your landscape.
1881 Main St Unit 1, Tewksbury, MA 01876