
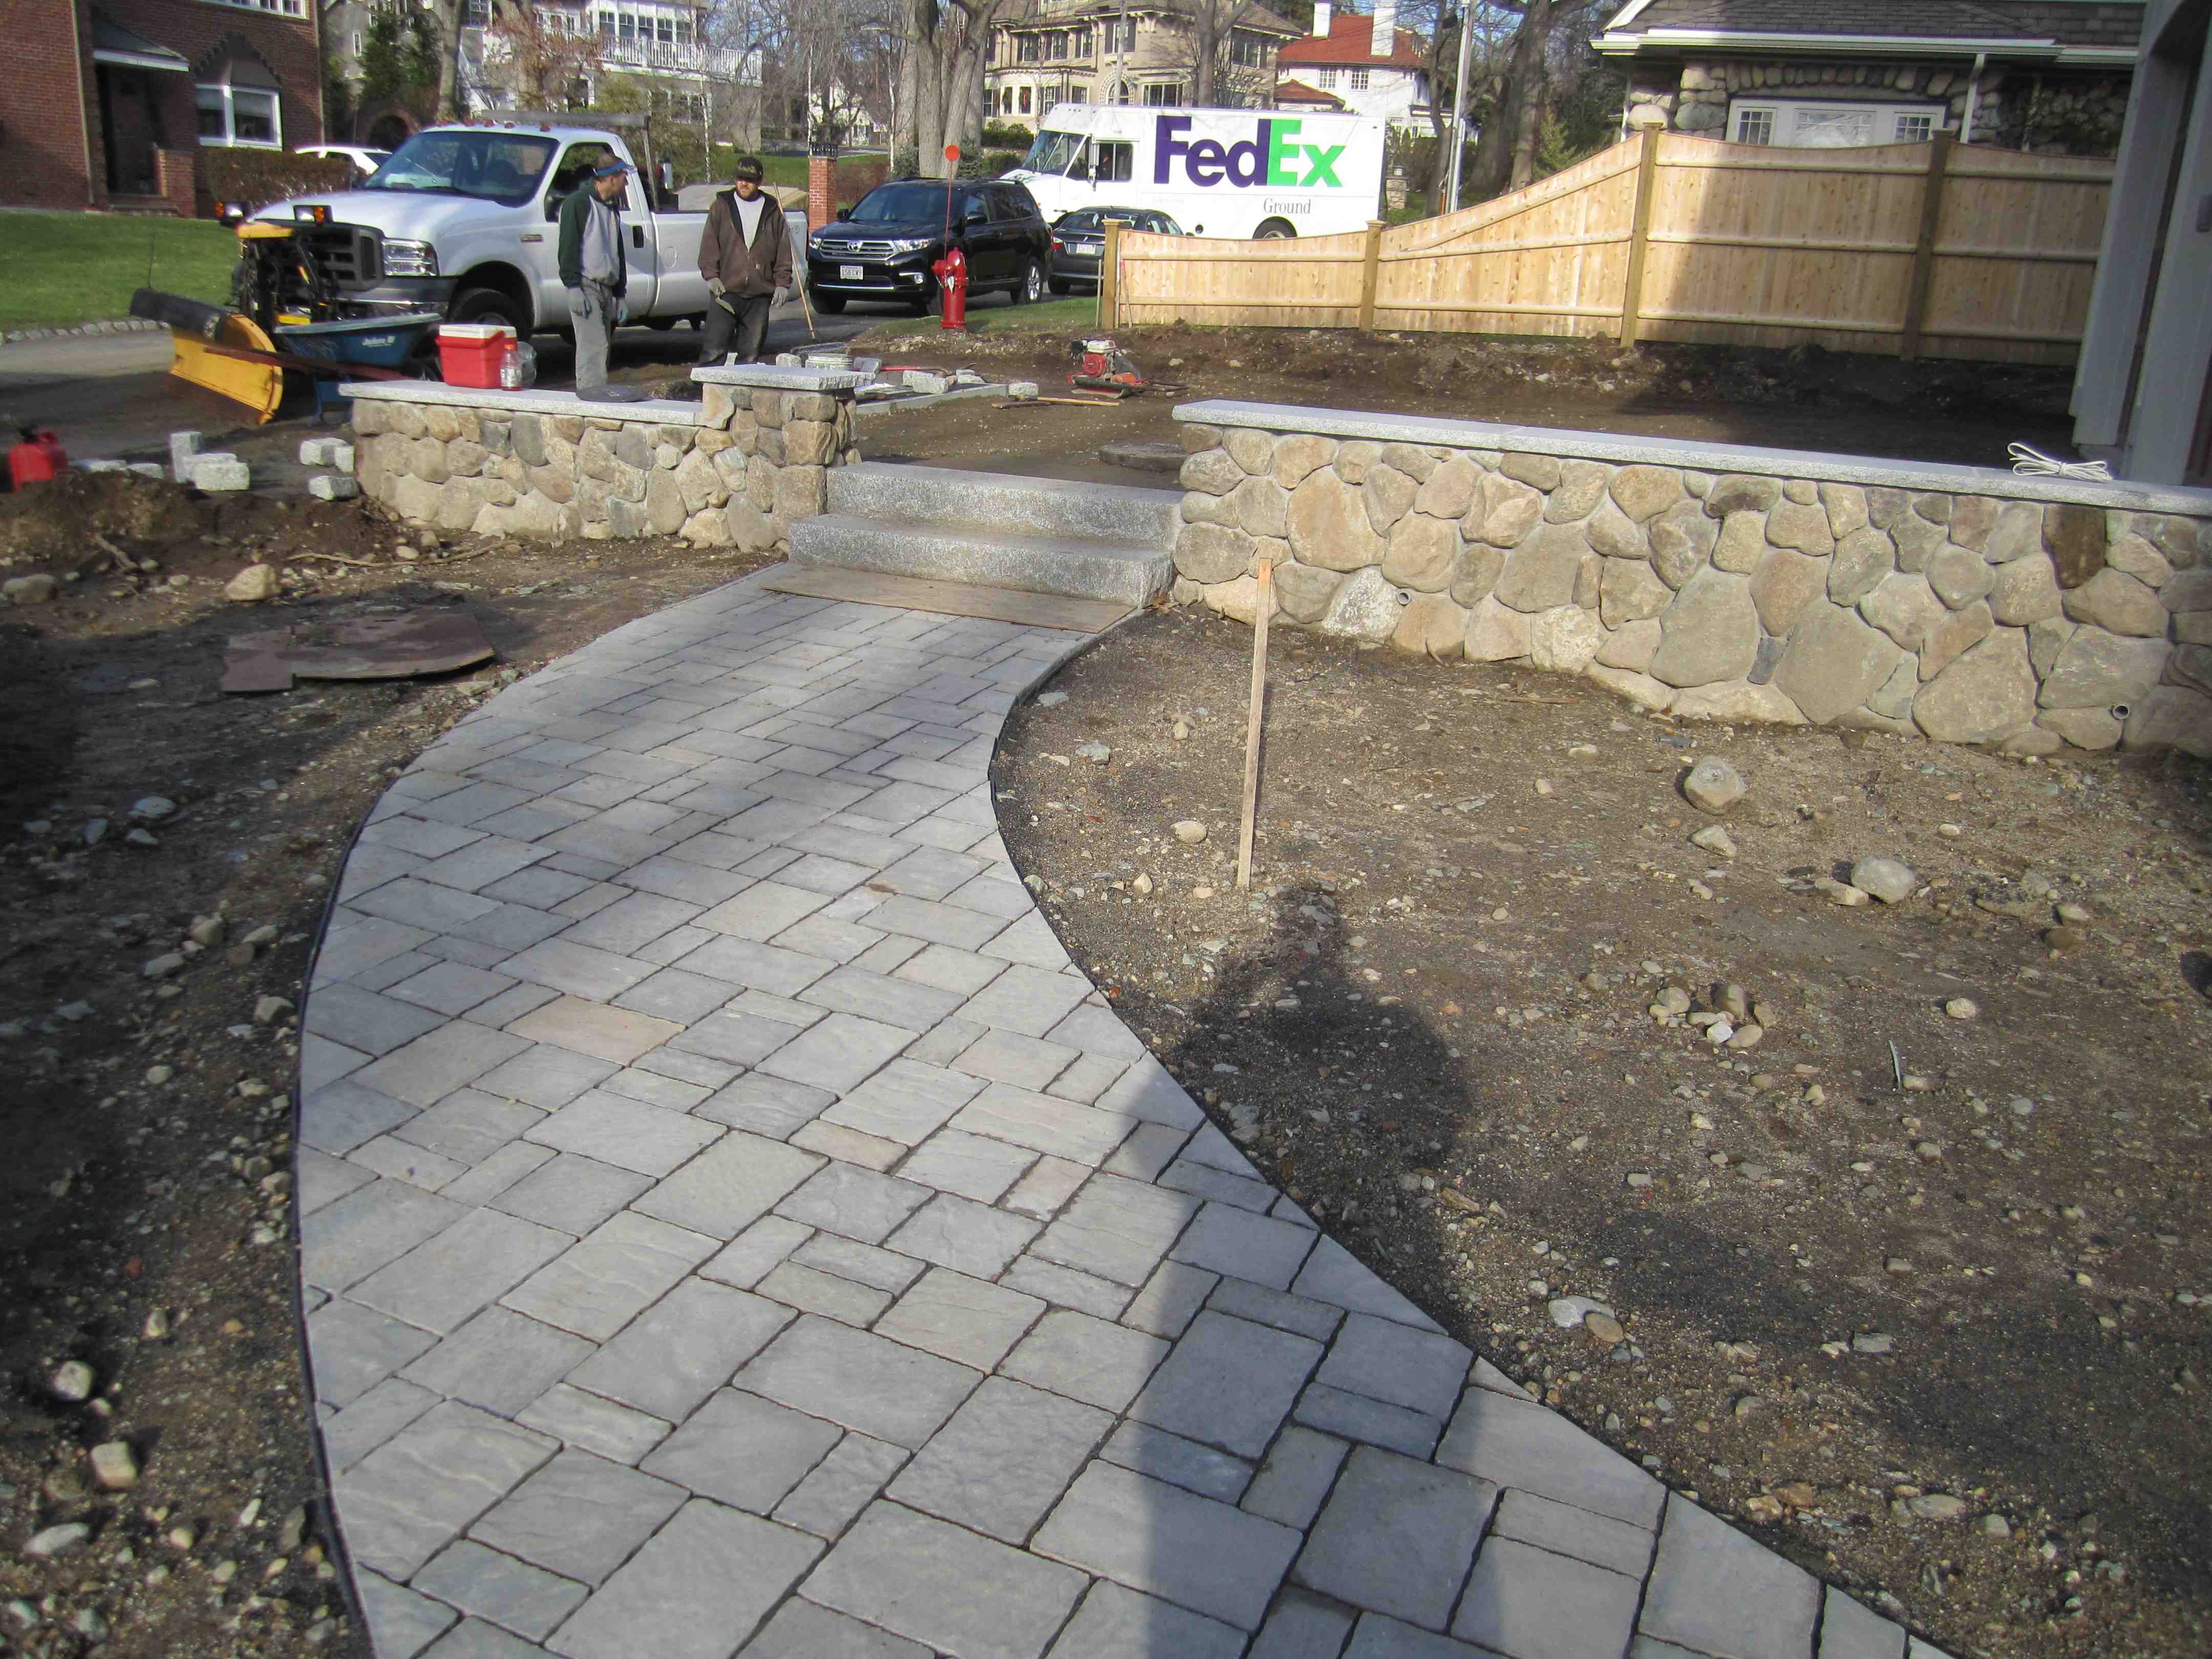
Garden path construction is the process of creating a durable, functional, and beautiful walkway through your outdoor space using materials like gravel, brick, pavers, or natural stone. More than just a way to get from A to B, a well-designed path guides the eye, defines different areas of your garden, and adds significant curb appeal and value to your property. Here’s what you need to know to get started:
Basic Steps for Garden Path Construction:
A garden path does more than just protect your lawn from becoming a muddy mess. It creates purposeful connections between different areas of your property while adding visual interest and structure to your landscape design. Whether you’re linking your home to a vegetable garden, creating a route to your garage, or simply defining outdoor living spaces, a well-built path becomes both a practical necessity and an attractive design feature that lifts the entire feel of your yard.
The beauty of garden path construction is that it’s an achievable DIY project for most homeowners. You don’t need to be a skilled mason—just a strong back, some patience, and an eye for fitting puzzle pieces together. With the right preparation, particularly a solid base that drains properly, your path can last for decades while requiring minimal maintenance, providing a lasting return on your weekend’s work.
I’m Scott McLeod, owner of McLeod Landscaping Inc., and over the past 30 years, I’ve overseen countless garden path construction projects throughout the Merrimack Valley, from simple gravel walkways to elaborate natural stone installations. Whether you’re tackling this project yourself or considering professional help, understanding the fundamentals of proper path construction will ensure you create a feature that improves your property for years to come.
Important garden path construction terms:
Before we even think about digging, a well-planned garden path is the blueprint for a successful project. This stage involves envisioning how the path will function, how it will look, and what materials will bring that vision to life. A pathway connects a garden to the home it belongs to, provides a practical way to steer the space, and adds an attractive and stylish design feature.

The first step in any garden path construction project is to determine its purpose and plot its route. This isn’t just about drawing a line; it’s about understanding how you and your family use your outdoor space. We often advise our clients in areas like Burlington and Lowell to observe their property for a few days. Where do people naturally walk? What areas need to be connected?
Consider the following:
As noted in A ‘How To’ Guide for Building a Beautiful Garden Path , observing your natural walking patterns over several days can significantly inform your path’s design, ensuring it’s both intuitive and functional. Once you’ve decided on the route, mark it clearly with pegs and a line, or even special upside-down spray marking paint, to visualize it before you start digging.
Once you have a clear idea of your path’s purpose and route, the next exciting step in garden path construction is choosing the materials. This decision impacts not only the look and feel of your garden but also the durability, maintenance, and overall cost. There are many options, each with its own charm and practical considerations. When selecting, consider the aesthetic of your home and garden in places like Tewksbury or Wilmington, ensuring the material harmonizes with the existing style—whether formal, rustic, or modern.
The price ranges below are average costs based on internet data for DIY materials only. It is important to note that these are not actual costs or quotes from McLeod Landscaping. Local labor, site conditions, and material quality can significantly change real project costs.
Here’s a comparison of popular garden path materials we often work with for residential hardscaping in communities like Andover and Concord:
| Material | Pros | Cons | Average Cost* (per sq. ft., internet-based) | Durability |
|---|---|---|---|---|
| Gravel | Inexpensive, easy to install for DIYers, excellent drainage, and provides a satisfying crunch underfoot which can act as an audible alert to visitors. | Can be messy as stones can scatter, requires regular raking to maintain a smooth surface, can be difficult to walk on in heels, and may get tracked into the house. | $1 – $17 (materials only, internet data) | Good, but requires maintenance. |
| Brick | Classic, timeless aesthetic that complements many home styles. Very durable and can be laid in a variety of attractive patterns like herringbone or basketweave. – | Can be more expensive than gravel; installation is labor-intensive. Individual bricks can shift or crack over time if the base is not properly prepared. | $4 – $55+ (materials only, internet data) | Very durable, can last for decades. |
| Concrete Pavers | Highly versatile with a huge variety of styles, colors, and shapes available. The interlocking design adds strength and stability, and their uniform size makes for a relatively straightforward installation. | Can be less charming than natural stone; some lower-quality pavers can fade over time. The very uniform look may not suit rustic or naturalistic garden designs. | $3 – $45+ (materials only, internet data) | Very durable and long-lasting. |
| Natural Stone | Best natural beauty, with unique colors, textures, and shapes in every piece. Extremely durable and will last a lifetime, developing a beautiful patina over time. – | Can be very expensive, both in material cost and labor. The irregular shapes make installation more challenging and time-consuming, like putting together a large, heavy puzzle. | $8 – $110+ (materials only, internet data) | Extremely durable, will last a lifetime. |
*Average costs are broad ranges compiled from internet sources and are not actual prices for McLeod Landscaping design or installation services.
Once you’ve planned your path and gathered your materials, it’s time to get your hands dirty. The construction process is methodical and requires attention to detail, but it’s a rewarding DIY project. Always prioritize safety by wearing gloves, safety glasses, and sturdy boots.
This is the most critical step for a long-lasting path. A poor foundation will lead to shifting, sinking, and an uneven surface over time, especially with the freeze-thaw cycles we experience in New England. A solid base is the secret to a path that looks great for years, not just a single season.
With a solid base in place, you can now install your chosen surface material. The technique varies depending on what you’re using. For more detailed guidance, you can refer to resources like this guide on how to lay a garden path.
Contact McLeod Landscaping today at (978) 640-0957 or click here to schedule a consultation for retaining wall installation. Let our experienced team design and install a functional and visually appealing retaining wall that enhances your landscape.


1881 Main St Unit 1, Tewksbury, MA 01876