
Natural stone walkway installation is one of the most rewarding hardscaping projects you can take on — whether you’re a homeowner looking to boost curb appeal or a property manager trying to keep your grounds looking sharp.
Here’s a quick overview of how to install a natural stone walkway:
But getting each of those steps right is where most DIYers run into trouble. Stones rock, bases sink, water pools — small mistakes lead to big headaches down the road.
That’s exactly what this guide is here to prevent.
I’m Scott McLeod, owner of McLeod Landscaping in Tewksbury, MA, with over 30 years of experience in residential and commercial natural stone walkway installation across the Merrimack Valley. In the sections below, I’ll walk you through everything — from choosing the right stone to avoiding the most common mistakes.

Natural stone walkway installation vocab to learn:
When we talk to homeowners in places like Andover or Concord, the first question is often: “Why natural stone instead of concrete or brick?” The answer lies in the unique character and long-term performance that only Mother Nature can provide.
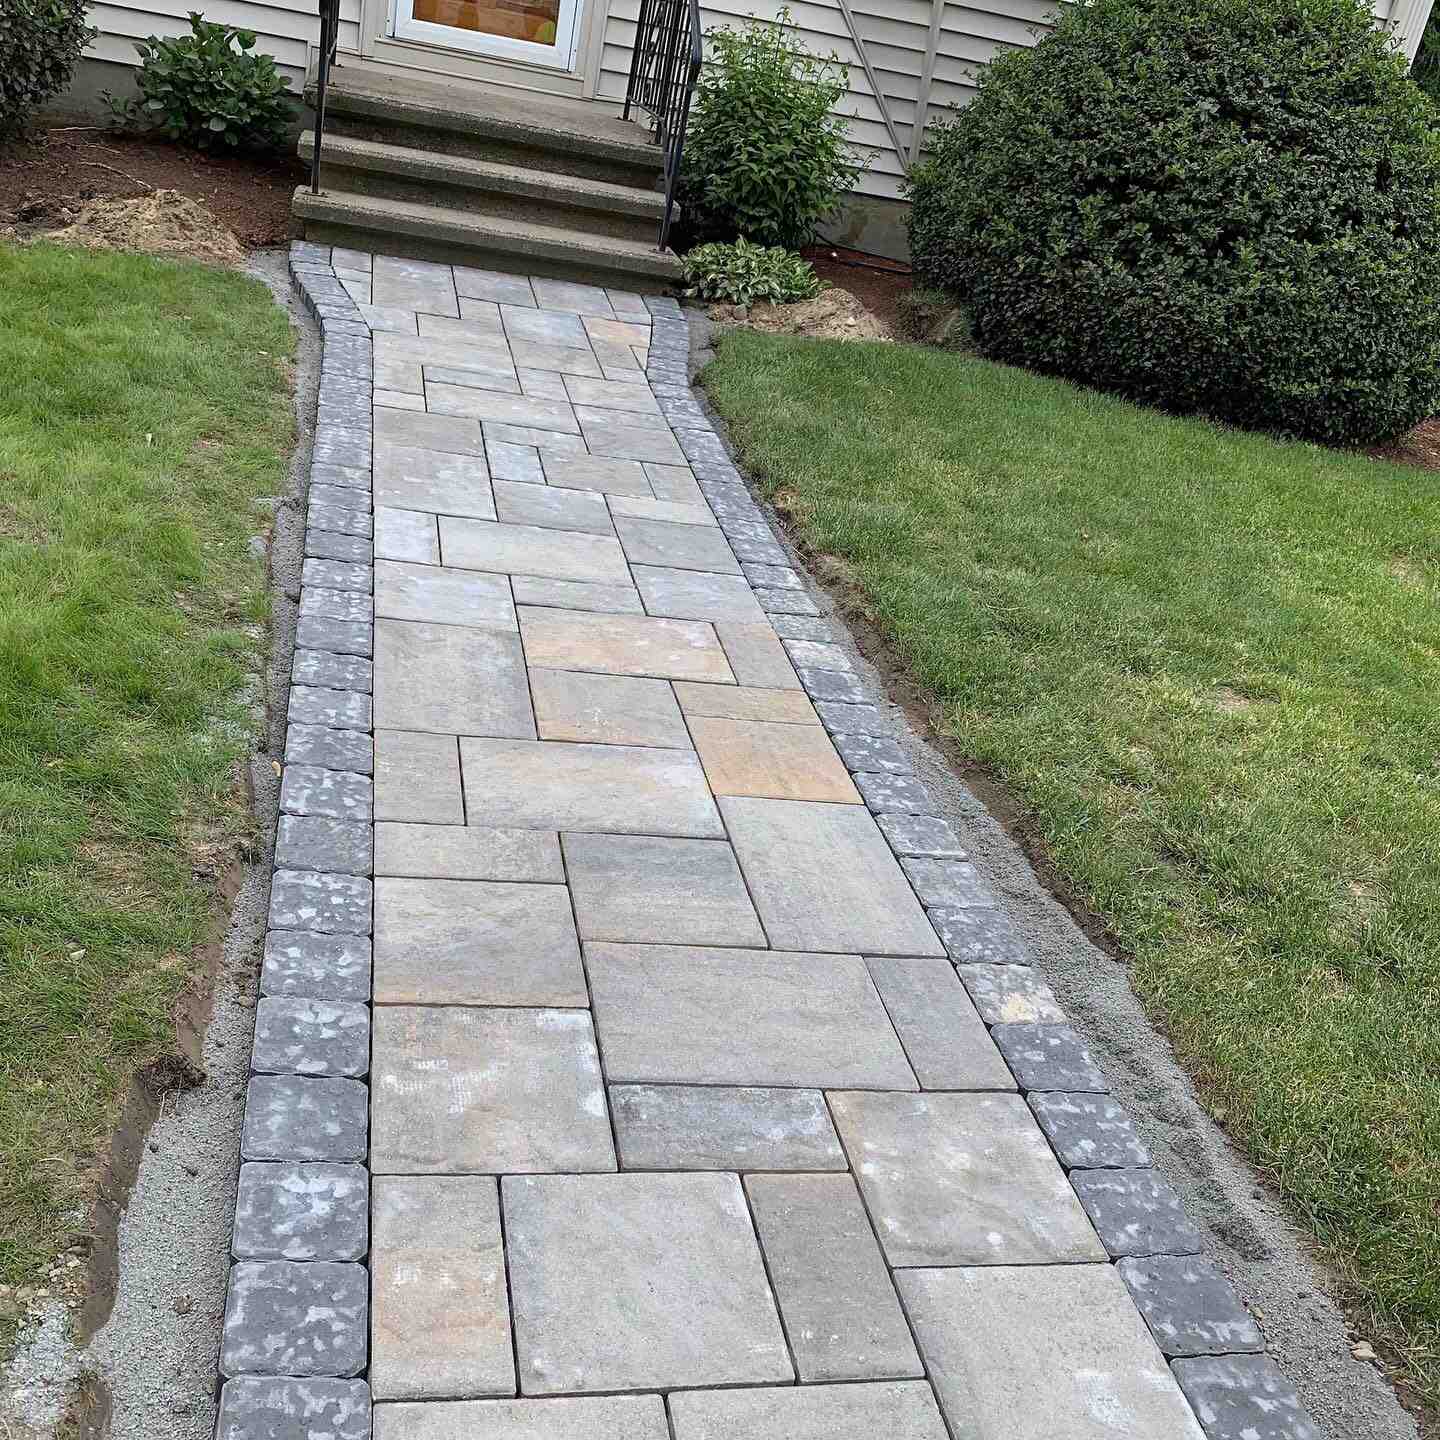
First and foremost is curb appeal. A natural stone path doesn’t just look like a way to get from point A to point B; it looks like it has always belonged there. Whether you choose the rugged texture of fieldstone or the refined elegance of bluestone, natural stone adds a timeless quality that significantly boosts property value.
Beyond aesthetics, natural stone is incredibly practical for our New England climate. Unlike large concrete slabs that can crack during our intense freeze-thaw cycles, a dry-laid natural stone walkway is flexible. The individual stones can move slightly with the ground and then settle back into place. Furthermore, the natural texture of stones like flagstone provides a non-slip surface, which is a major safety benefit when things get damp or icy in the Merrimack Valley.
Environmental impact is another win. Many natural stone installations are permeable, meaning rainwater can filter through the joints into the soil rather than creating runoff. This is especially helpful for front yard walkway design where drainage around the foundation is a priority.
Before we pick up a shovel, we have to put on our “architect hats.” Proper planning is the difference between a path that looks professional and one that looks like a weekend project gone wrong.

We always recommend using a garden hose or a long rope to visualize the path. It allows you to create those graceful, winding curves that add so much character to a garden.
For a deeper dive into the logistics of layout, check out this guide on How to Build a Stone Path for Your Garden.
Not all stones are created equal. Your choice will depend on your budget and the “vibe” of your home.
To do the job right, you’ll need more than just a positive attitude. Here is our essential checklist:
Now comes the sweat equity. Natural stone walkway installation is a labor of love, but if you follow these steps, the result will last for decades.
We need to dig deep enough to accommodate our base layers and the stone itself. Typically, this means excavating 5 to 10 inches deep.
Once the dirt is out, don’t just start throwing gravel in. Use your plate compactor or a hand tamper to make the bottom of the trench as solid as possible. This prevents the “sinking” that ruins so many DIY paths.
Lay down your landscape fabric first. Then, add your crushed stone in 2-inch “lifts,” compacting each layer as you go until you have a solid 4-to-6-inch base. Finally, add 1 to 2 inches of leveling sand or stone dust on top. Screed it flat using a straight board, but don’t compact the sand yet—you need it loose so you can set the stones into it.
For a visual walkthrough of this process, see How To Lay a Flagstone Walkway.
This is the “art” part of the project. Think of it like a giant, heavy puzzle.
Once the stones are set, you need to lock them in.
If you’re interested in more decorative options, our guide on garden path construction covers various infill styles.
Let’s talk numbers. While doing it yourself saves on labor, the materials for natural stone walkway installation aren’t cheap.
| Project Type | Average Cost Per Sq. Ft. (DIY) | Average Cost Per Sq. Ft. (Professional) |
|---|---|---|
| Basic Flagstone | $15 – $65 | $35 – $145 |
| Premium Bluestone/Granite | $25 – $110 | $65 – $275+ |
Note: These are average costs based on internet data and not actual costs for McLeod Landscaping. Prices in the Merrimack Valley can vary based on stone availability and site complexity.
A well-installed stone path is low-maintenance, but it’s not “no-maintenance.”
For a standard walkway in stable soil, we recommend an excavation depth of 5 to 6 inches. This allows for 4 inches of gravel and 1 inch of sand, plus the thickness of the stone. In the heavy clay soils we sometimes see in Burlington or Billerica, we might go 9 to 10 inches deep to ensure the base is rock-solid.
We strongly advise against it. While it’s tempting to just “toss them down,” the stones will quickly sink, wobble, and become trip hazards. Grass and weeds will also grow through the gaps almost immediately. A proper gravel and sand base is the only way to ensure your natural stone walkway installation lasts.
Rocking usually happens because of “air pockets” in the sand bed. When you set a stone, use the “finger test”—if you can slide your finger under any edge of the stone, it’s not seated properly. Lift it, add sand to that spot, and use your rubber mallet to seat it firmly. For very uneven veneer stones, some pros use a “wet-setting” technique with a thin layer of mortar, but for most DIYers, a well-compacted sand bed is the way to go.
Building a natural stone walkway is more than just a home improvement project; it’s an investment in the beauty and functionality of your property. Whether you’re creating a winding path through a garden in Carlisle or a formal entrance in Westford, the effort you put into the foundation and the layout will pay dividends for years to come.
At McLeod Landscaping, we’ve spent over 30 years perfecting the art of hardscaping. From residential patios and firepits to large-scale commercial maintenance and snow management, we take pride in serving our neighbors throughout the Merrimack Valley. We know the local soil, we know the local climate, and we know how to make stone “lay down the law” in your landscape.
If the idea of excavating five inches of soil sounds a bit daunting, we’re here to help. Schedule your walkway installation services with our team today, and let’s build something beautiful together.
Contact McLeod Landscaping today at (978) 640-0957 or click here to schedule a consultation for retaining wall installation. Let our experienced team design and install a functional and visually appealing retaining wall that enhances your landscape.

1881 Main St Unit 1, Tewksbury, MA 01876